AI content tools are powerful, but knowing how to use them effectively makes all the difference. In this guide, I’ll walk you through how to use Writesonic to create a complete blog post — from idea to polished draft — in under 10 minutes.
Step 1 – Start with a Blog Idea

- Log in to your Writesonic dashboard
- Use the “AI Article Writer” tool
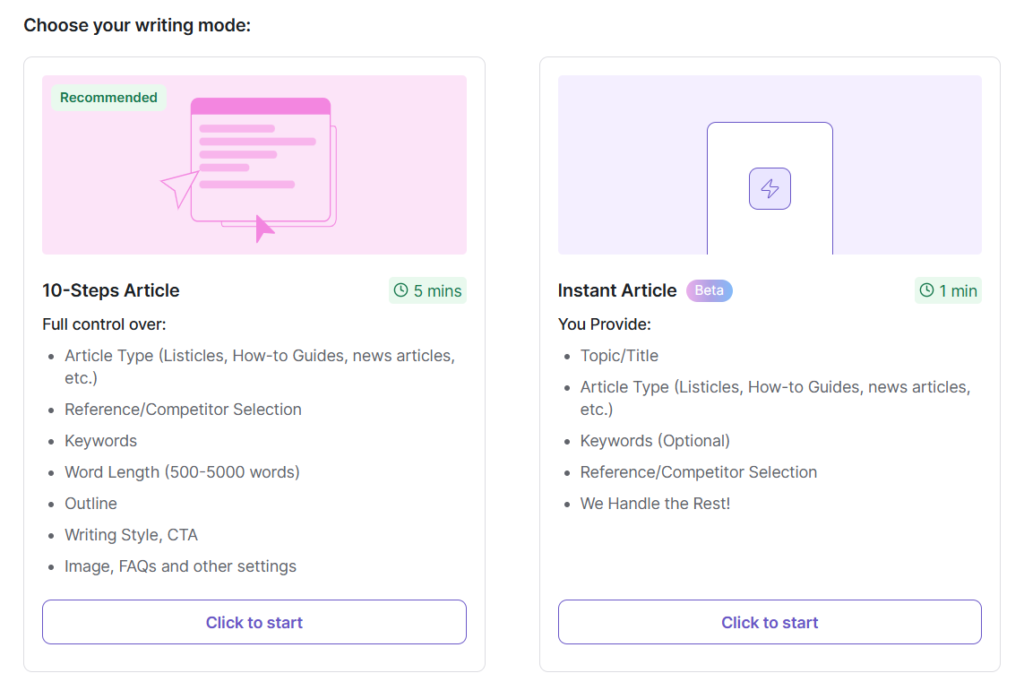
- Choose your writing mode
- Enter your niche/topic
- Pick a title you like
🧠 Tip: You can enter something broad like “best travel tips” and get narrowed-down topics.
Step 2 – Generate an Outline
- Use the “Blog Outline” template
- Paste your blog title → click generate
- Choose the most structured outline
- Copy it into a document
Step 3 – Expand with Paragraph Generator
- For each outline point, use the “AI Paragraph Writer”
- Paste subheading as prompt
- Refine output if needed
- Repeat for all sections
📌 Optional: Use “Article Writer 5.0” for auto-complete
Step 4 – Refine and Format
- Use Writesonic’s built-in editor
- Check flow, adjust transitions
- Add intro & CTA manually
- Optional: Export to WordPress / Google Docs
Step 5 – Publish or Schedule
- Add links, images, and call-to-action buttons
- Proofread quickly with Grammarly
- Schedule or publish the content
Final Thoughts – Writesonic Makes Blogging Easy
Creating content doesn’t have to be hard or time-consuming. With Writesonic, anyone can produce blog posts in minutes. Whether you’re a student, marketer, or solo blogger, give it a try.
👉 Try Writesonic – Free Credits Inside
⚡ Start Writing Smarter — in 1 Click
Use Writesonic to generate your next blog post in minutes. No credit card needed to start.

